Why Autumn Maintenance Matters
The period from October to March is the toughest test your outdoor timber will face. Persistent rain, frost cycles, reduced airflow from fallen leaves and limited drying time between wet spells all combine to create challenging conditions for wood.
A few hours of maintenance in autumn can prevent months of damage over winter — and save you from costly repairs or replacements come spring. Here’s our complete seasonal checklist.
Decking Maintenance Checklist
1. Deep Clean
Autumn is the ideal time for an annual deep clean before the worst of winter arrives:
- Sweep away all leaves, debris and organic matter — these trap moisture against the timber and promote algae growth
- Use a specialist timber cleaner (not bleach or household detergent) to remove dirt, algae and grey surface fibres
- A stiff brush works well for textured decking; use a softer brush on smooth-planed surfaces
- Rinse thoroughly with clean water and allow to dry for 2-3 days
- Avoid pressure washers — they damage wood fibres, raise the grain and can force water deep into the timber. If you must use one, keep pressure below 1,500 PSI and use a fan nozzle at least 300mm from the surface
2. Inspect the Structure
Check the subframe while the deck surface is clean:
- Look for any soft or spongy joists — probe suspect areas with a screwdriver to test for rot
- Check all joist hangers, brackets and structural fixings for corrosion or loosening
- Ensure adequate drainage fall still exists — standing water is the number one enemy of timber decking
- Verify that the ventilation gap beneath the deck isn’t blocked by soil build-up, plants or debris
3. Tighten and Replace Fixings
Temperature changes throughout the year cause timber to expand and contract, gradually working screws loose:
- Walk every board and tighten any screws that have lifted
- Replace any corroded fixings with A4 stainless steel replacements
- Re-fix any boards that have started to cup or bow
4. Re-oil
If your decking was last oiled in spring, it will benefit from a maintenance coat before winter. Apply one thin coat of decking oil (we recommend OSMO Decking Oil) to clean, dry timber. Choose a dry spell when temperatures are above 10°C — increasingly precious in late autumn, so don’t leave it too late.
5. Anti-Slip Treatment
Wet timber decking in winter can be dangerously slippery. Consider:
- Anti-slip decking strips fixed to the most trafficked areas
- Anti-slip additive mixed into your decking oil
- Keeping a stiff broom by the door for regular sweeping of wet leaves and frost
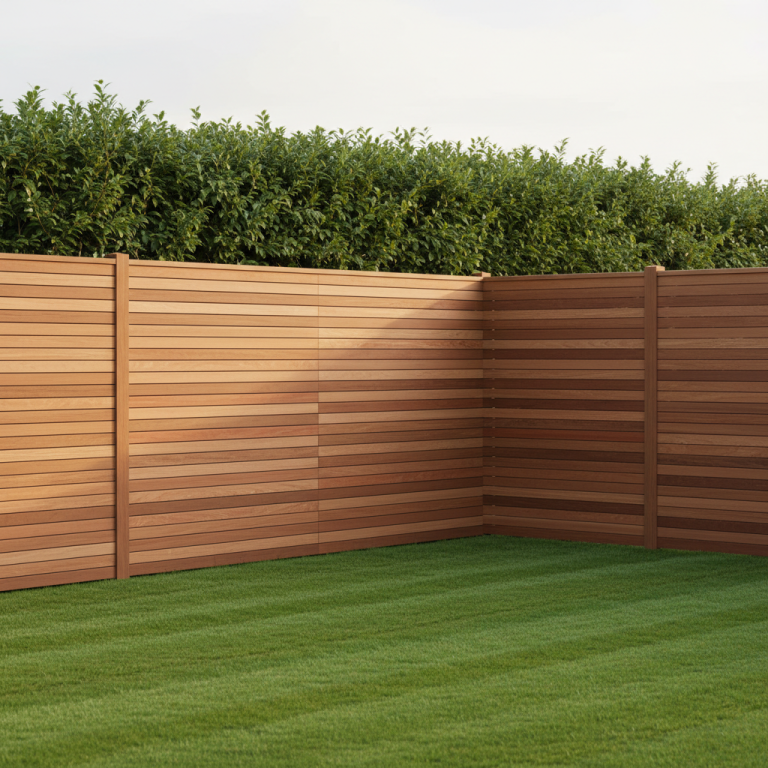
Fencing Maintenance Checklist
1. Check Posts
Fence posts are the most vulnerable element — if they fail, the whole fence comes down:
- Push firmly against each post to check for movement. Any wobble indicates rot at ground level or a failed concrete base
- Inspect the post at and just below ground level — this is where rot starts. Probe with a screwdriver if the post feels soft
- Consider fitting post repair spikes to any posts showing early signs of weakness — it’s far easier than replacing the entire post
2. Inspect Boards and Panels
- Replace any cracked, split or rotten boards before winter storms exploit the weakness
- Check that all boards are securely fixed — loose boards catch the wind like a sail, putting enormous stress on posts and rails
- Tighten or replace nails and screws as needed
3. Clear Vegetation
Plants growing against or through fencing trap moisture and accelerate rot:
- Cut back any climbing plants to allow airflow around the timber
- Clear soil and mulch that has built up against the base of the fence
- Ensure gravel boards can drain freely
4. Treat or Re-oil
A fresh coat of oil or stain before winter provides a barrier against the worst of the weather. Pay particular attention to end grain, joints and any areas where the previous finish has worn away.
Cladding Maintenance Checklist
1. Visual Inspection
- Check all elevations for boards that have moved, cupped or split
- Look for any gaps that have opened between boards — these can allow water behind the cladding into the ventilation cavity
- Inspect flashings and trims around windows, doors and at the base of the cladding
2. Check Fixings
- Re-drive or replace any fixings that have backed out
- Look for staining around fixings — this indicates corrosion (replace with stainless steel)
3. Clean Gutters and Drainage
Overflowing gutters can dump large amounts of water onto cladding. Clear all gutters, downpipes and drainage channels near timber-clad walls before winter rains begin.
4. Re-finish If Needed
South and west-facing elevations weather fastest. If the finish is visibly worn on these faces, apply a maintenance coat of oil or stain. North-facing elevations may only need attention every 4-5 years.
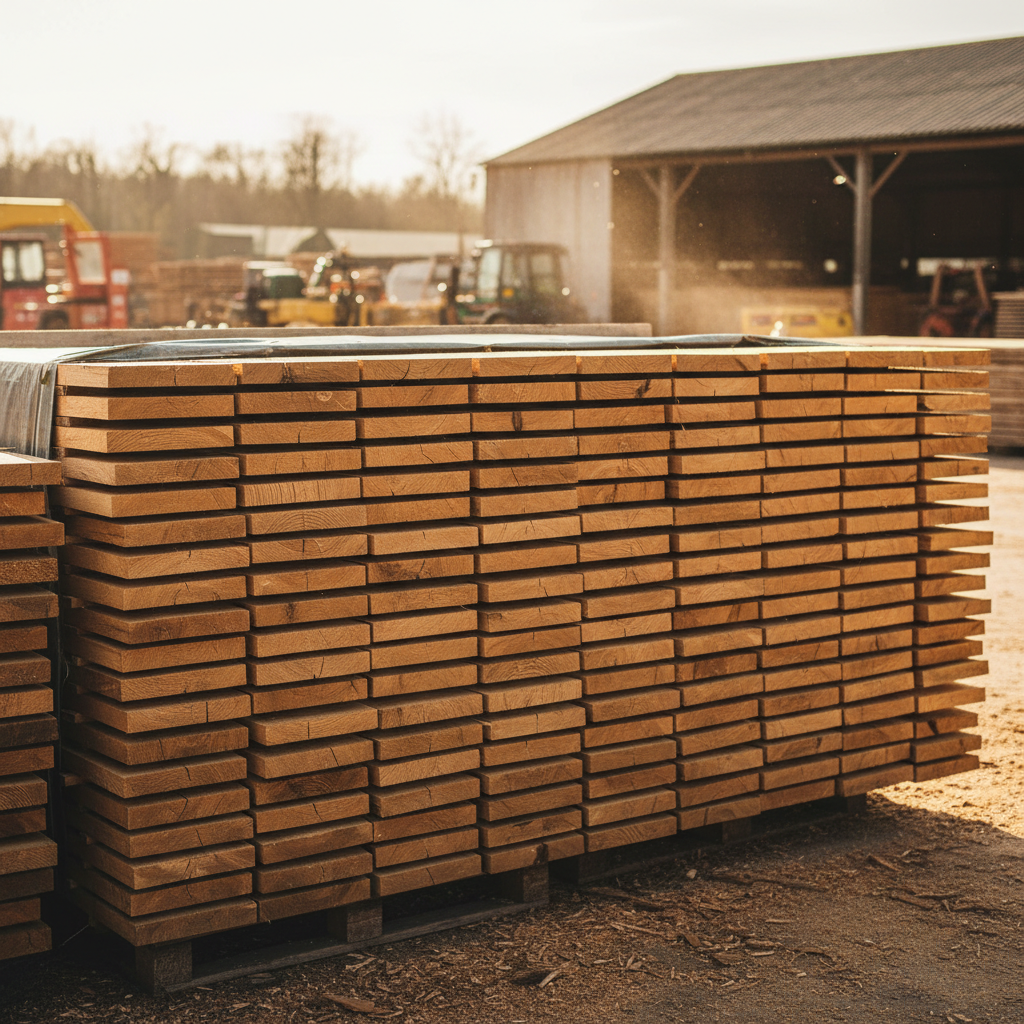
Storing Timber Over Winter
If you have timber awaiting installation or use:
- Store off the ground on bearers (minimum 100mm clearance)
- Cover the top to keep rain off, but leave the sides open for airflow
- Don’t wrap timber in plastic — this traps moisture and promotes mould growth
- Use stickers (thin timber spacers) between boards to allow air circulation
When to Call a Professional
Some issues warrant professional attention:
- Multiple rotten fence posts — it may be time for a full fence replacement
- Structural issues with decking subframes
- Cladding boards showing signs of moisture ingress behind the cavity
- Any concerns about structural timber in proximity to the building envelope
Need Replacement Timber?
If your autumn inspection reveals boards, posts or rails that need replacing, we can supply matching timber in any species with next-day delivery. Whether it’s a single replacement fence post or a full set of new decking boards, get in touch and we’ll get you sorted before winter sets in.